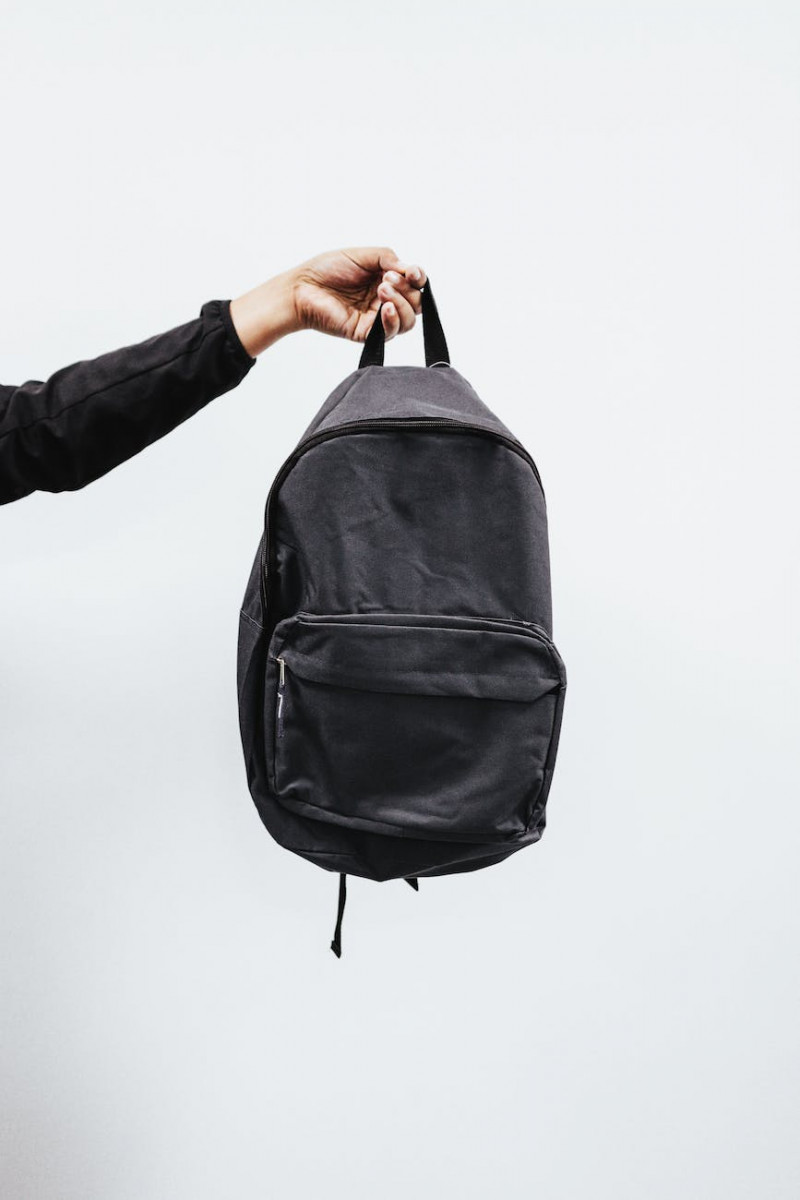
Well, I made a mistake, we’ve had such a good experience with the Lo & Son‘s original Travel Bag O.G. 2, it was so reliable with a lifetime warranty. In fact, after 10 years, we actually got a second one that is a little larger. The mistake was that they have dramatically extended their product line and I ended up getting the Hakuba which is supposed to be able to carry a 16″ notebook and is 35 liters based on Techradar and BackPackies.
What I didn’t realize is that they’ve moved from a lifetime warranty to a one-year warranty which is industry standard, but a little disappointing in quite a few ways.
First is the design of the thing itself, it has a backpack that has a “sling” inside of it and then a pouch that is underneath. The problem is that this pouch underneath is hard to access and things just fall out if you do not zipper it tightly. I had a whole bag of snacks just pour out if it is not all the way there. I think a good use might be as wet storage or for shoes, but this isn’t a common use case for me. I think this may be more of a gym than a travel bag.
It has an insert inside of it that I struggle to figure out the purpose of, this is a sling that is inside which divides the thing into an inner container, and then there are things on the sides that you can slide things. The problem is that if you slide things are the side, they become rapidly lost, so you are losing quite a bit of storage.
Also, it does not have a waist belt, so you do not want many heavy things in it as it gets really tiring. And it is not a clamshell opening. It does have three zippers on top which is pretty confusing at first because they are not marked, so I was also mistaken as to which set of zippers to open. And that is confusing.
Worse, the critical component missing is the durability of the zippers. They are pretty small and the zipper tabs immediately fell off then in trying to stick a 14″ MacBook and a 13″ ASUS ROG X13 in, the laptop sleeve zipper broke and this is really bad for the integrity of the backpack. Once that zipper fails, the entire integrity of the bag is a problem. I sent them a note, but basically, it is impossible to repair this and you can’t use the attachment to luggage. Sigh, not a great deal at $275.
The biggest thing about my travel bags as I reflect upon it have been the really great zippers. I’ve literally not had one fail in years, but going back they are the main failures have all been zipper related:
- TravelPro Original Rollaboard. This was the original rolling luggage. Invented by an airline professional, I used it for years. Eventually, the zipper side completely pulled away as the fabric around it failed.
- eBag Motherlode 25″. Ok, first of all, given recent reviews, I would not recommend this anymore, but the original Motherlode from 2009 is incredible. But it is easy to have things slip particularly as vendors change, so shopping does not mean just choosing the brand you had before.
- LowePro 250 Fastpack250 AW II. LowePro is a well-known name in the camera business. And this is their dedicated large dSLR backpack with 15″ laptop sleeve. This has been super reliable, but the main issue is that it is really just for cameras and there is no way to carry clothes as well, what would be ideal is something that would work for the new smaller mirrorless cameras and a few prime lenses and also work to carry clothes. it is also nice that the rain shield is included and is at the bottom
- Osprey Talon 22. This is my other go-to backpack that is mainly for hiking, it is only 22 liters, but is quite strong and light, you can’t carry a camera, but it is fine for the essentials like toiletries, etc in addition to hiking. And it is loved by Outdoor Gear Labs.
- Black Rapid Sport Breathe. This is just an awesome camera strap. It mounts at the bottom of the camera and it just slides nicely. The main issue is that it does use the tripod mount so if you want to tripod, you have got to remove it. But I really like the design (see below, but Peak Designs has an alternative style where the camera is mounted on something and then you click it off. Combined with a strap this is probably not quite as good for dedicated shooting but definitely is more convenient.
- Kinesis Belt System. I rarely use this these days, but they are just vital if you are carrying around monster gear. This is a heavy-duty belt along with a suspension system. The many heavy lenses go in big pouches all the way around along with a deep pouch for your big DSLR. There is no better way to carry a lot of lenses and be able to instantly pull and mount them. So I normally use the Black Rapid these days if I’m not changing lots of lense. Oh and it has a dedicated large tripod holder as well, so just perfect for day long shooting.
Back to the Drawing Board: Peak Design Travel Backpack
So back to the drawing board and instead of looking at the small sights, starting with my favorite site Outdoor Gear Labs, what is a high-capacity true travel bag (vs mainly gym bag). And as usual, they hit the needs really well. They loved the Peak Designs Travel 45.
When I read the name, I realized I recognized them, we were one of the first backers of their original Camera Everyday Messenger bag on Kickstarter which was great and worked well back in 2015. It raised over $4M for a really nice bag. Then their travel tripod is fantastic and is my go-to travel tripod that is so small. It does need a dedicated head.
Well, they have been doing many more projects and the Travel Backpack 45 seems pretty perfect. First of all, it has a lifetime warranty and much meatier zippers. Plus if you buy this plus two other items then you get a 15% discount to a maximum of $40 which is pretty nice.
Here are the things I got and I’ll report back:
- Peak Designs Travel Backpack 45. The Lo & Sons was a 35-liter bag but still easy to fit. The 22-liter Osprey is actually pretty tight for most travel. The thing will actually pack down to 35 liters as an aside and it could mean not having to take the roll aboard for many trips!
- Camera Cubes. This is a real dilemma as the medium cube takes up a lot of space and is really designed for a DSLR but it has both side-opening and front-opening. The small cubes are way more compact but they allow more storage.
- Rain Fly. This is pretty expensive but indispensable if you are hiking.
- Slide Lite. There is a sling tie that lets you take a camera cube out and use it as a camera-carrying thing. That is super useful.
- Capture. This is an expensive $75 gimmick, but it basically mounts your camera (or another gadget like binoculars onto your strap so that you can deploy it instantly to get those photos of white Tigers! It comes with a plate for your camera that works with 1/4″ and you don’t need to remove the plate when you put it into a tripod. I also have a Black Rabbit strap which is great but it takes up the entire thing so if you want to put it into the tripod, you have to remove the strap. With this system, you can get a strap it will with the plate. You can put it on your belt facing down and also on a sturdy strap where you can mount it downwards. It also allows quick lens changes since the camera is held up. You need the Bino kit for binoculars and it works with the Peak Design Tripod as well which is really nice.
- Shell. This is for a camera. I have this plastic bag stuff but it is pretty unprofessional looking
- Packing Cube. They also have toiletry and packing cubes, but I’ve already got the nice compressing things plus a compressing wardrobe thingy so I think I’ll stick with those.
Net, net the best way to carry your camera
Now that I’ve switch from gigantic zooms to a series of prime lens, I’m really thinking hard about how to carry all this stuff. I think that the best way to do this is to have:
- To get things from site to site, the Peak Designs Travel Backpack 45L is good for a single carry. Otherwise it is probably the LowePro 250 with the eBags rollaboard.
- Then at the shoot, have the Travel Backpack with the sling plus the capture mount so you can use it to change lenses, you still have to reach around to access the travel backpack.
- Then for a dedicated daylong shoot, the Kinesis just has everything right there but it is a little overkill if you have a mirrorless camera and just prime


